How to Build a Vocal Chain
Learn the best UAD plug-ins to buy when building your first vocal chain, and which settings to use for pro sound.
When you buy an audio interface to record vocals, it might take a day or two to get connected and familiarize yourself with the knobs, meters, and functions. But once you’ve finally plugged in your microphone and started to hear audio through your DAW, it’s time to record.
To give your vocals the best sound, you’ll want to use plug-ins. We spoke with Universal Audio product expert Drew Mazurek to discuss the best UAD plug-ins to buy when building your first vocal chain, and how to use them to get professional recordings.
Best Plug-Ins for Vocals
UAD plug-ins are authentic emulations of the same analog gear used on decades of legendary albums. Just like pro producers and engineers, you can add these effects to your vocals to get more professional sound instantly.
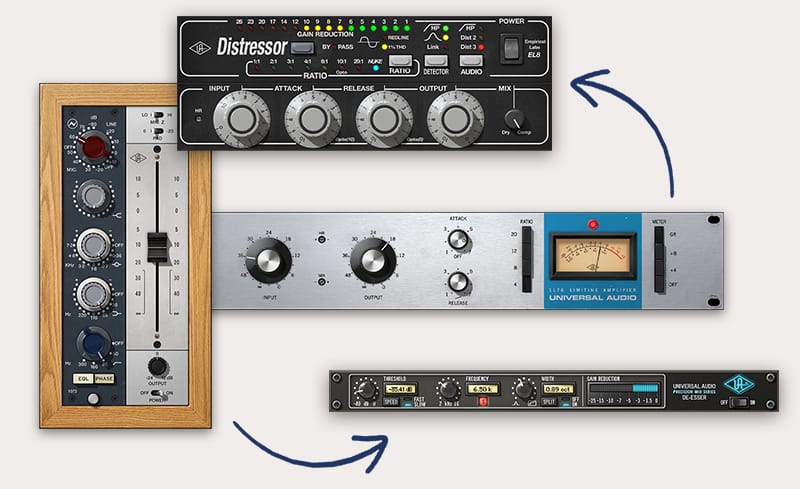
Using channel strip plug-ins from classic brands like Neve,® API,® and SSL® is a great starting point when building out your first vocal chain.
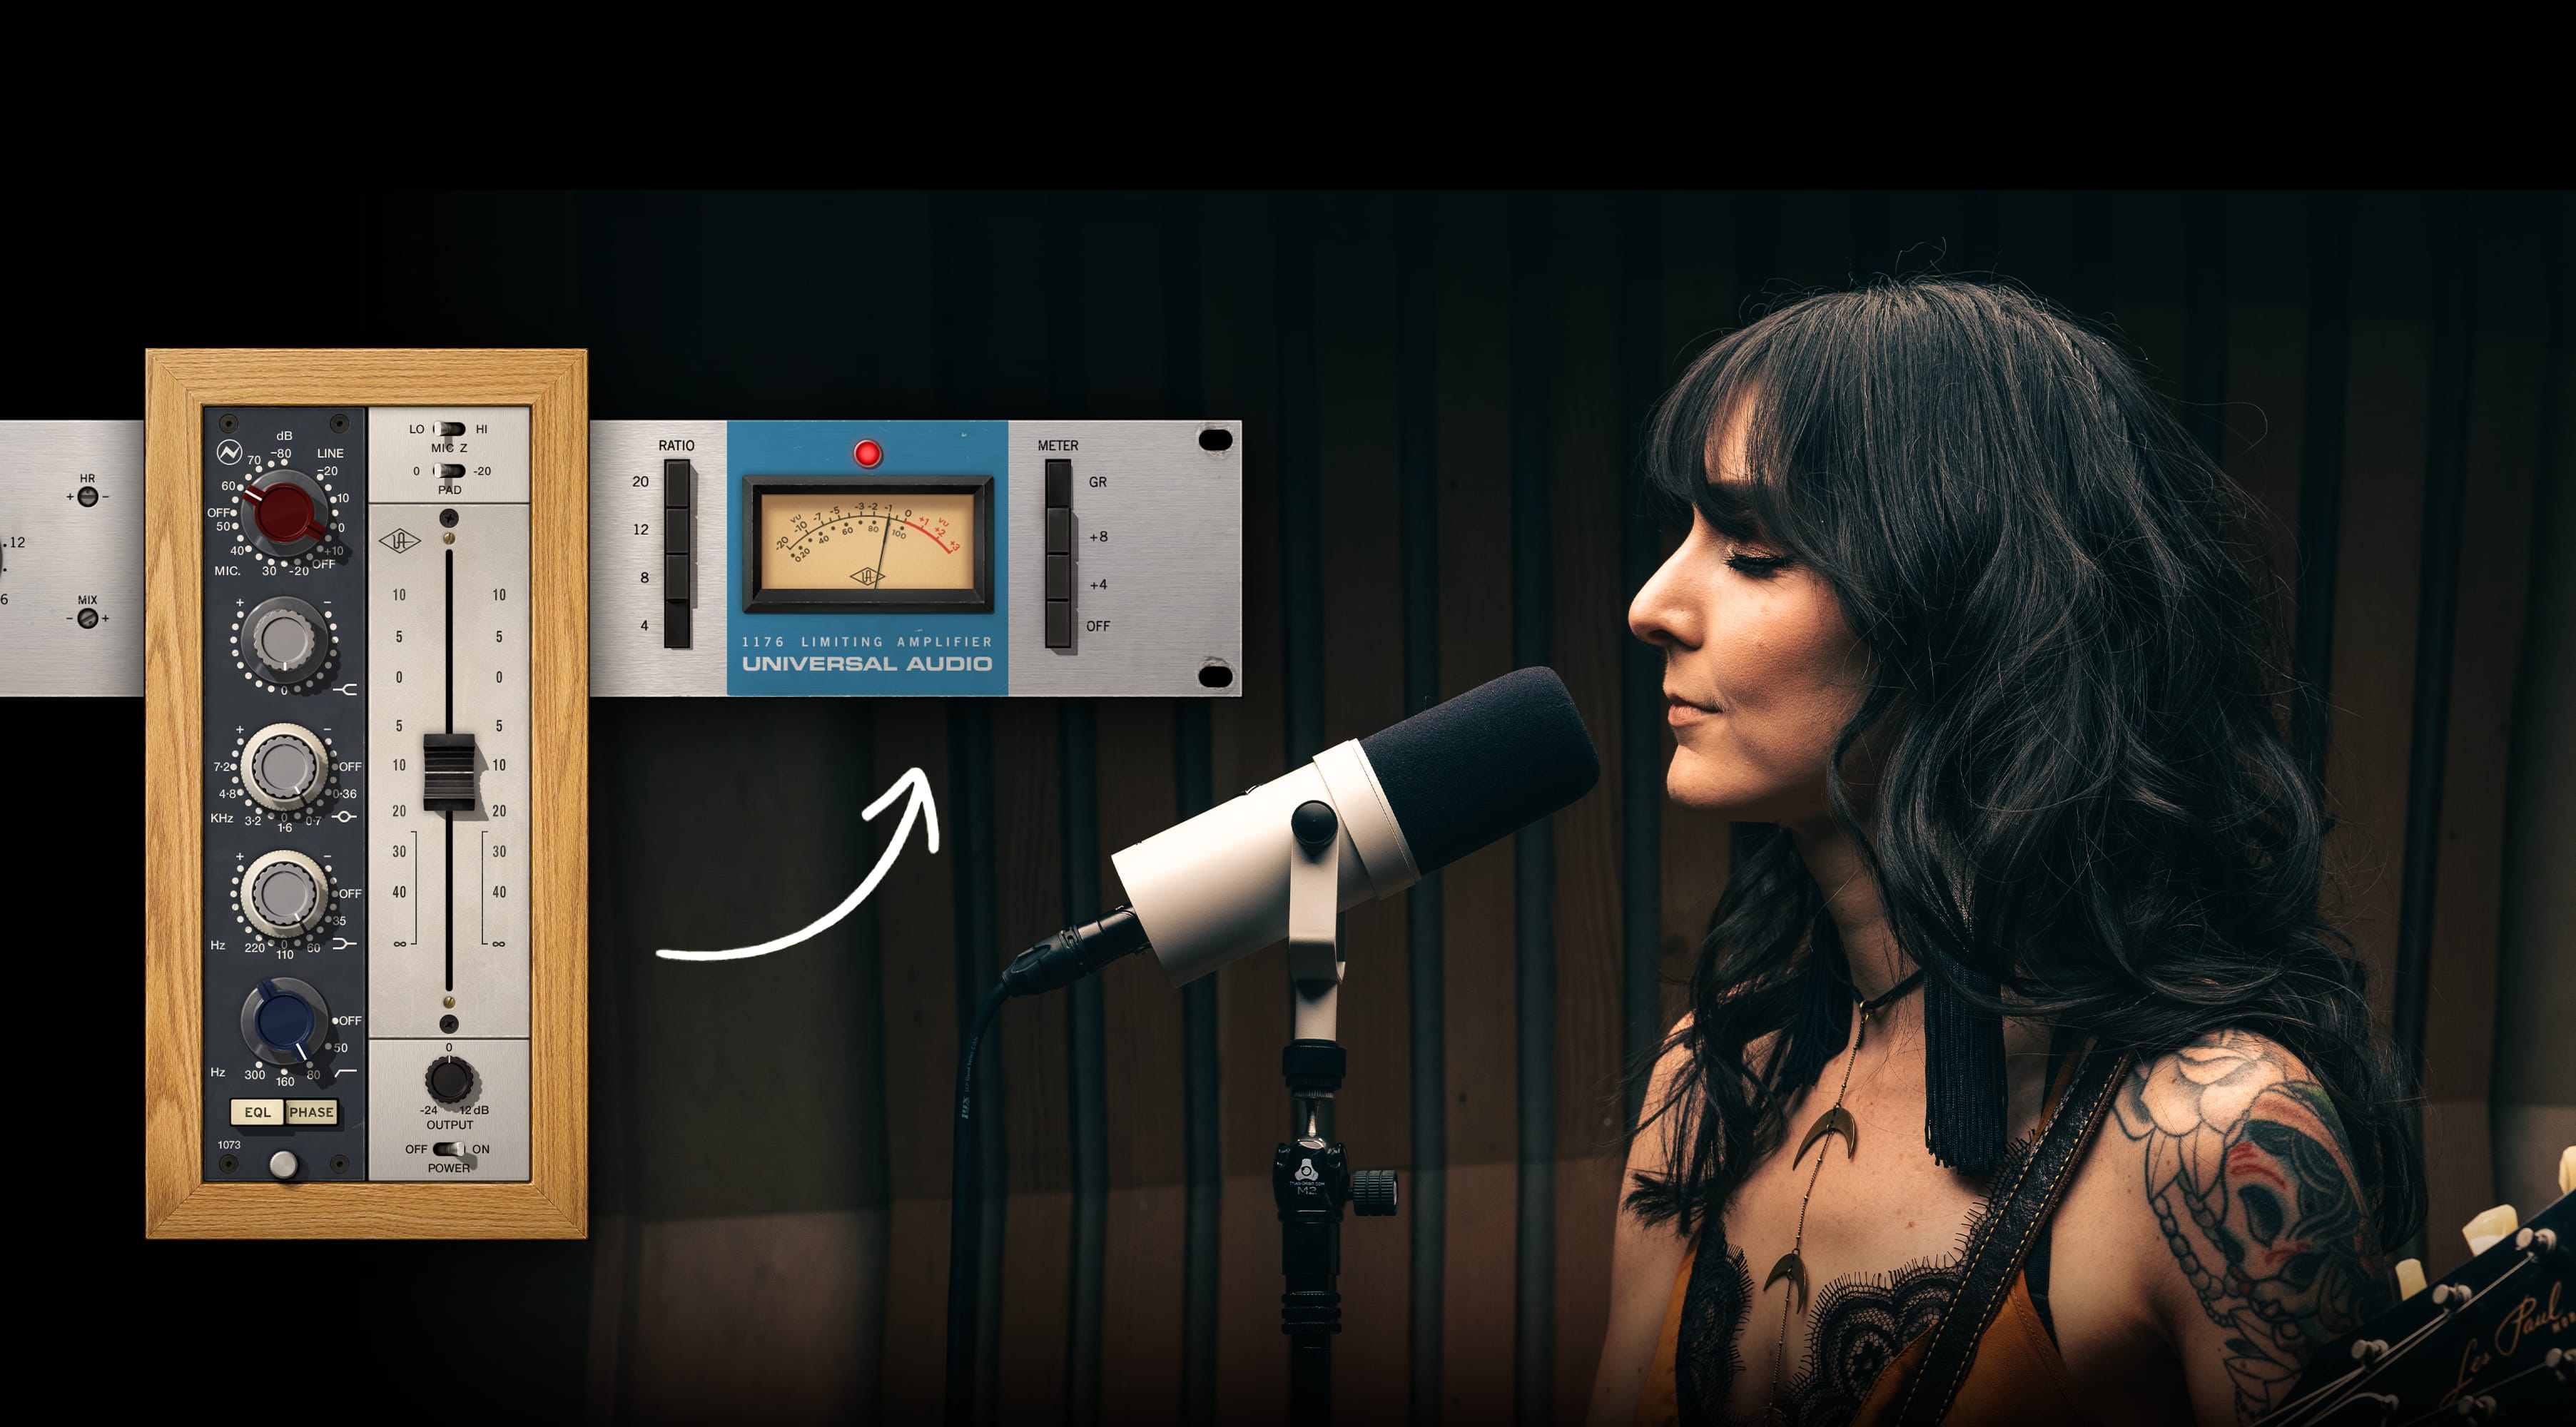
“The Neve 1073 Preamp & EQ is amazing,” says Drew Mazurek, UA Product Specialist. “It’s one of the most popular UAD plug-ins, and is used by pro engineers to add color and shape recordings with its EQ and filter.”
There are two basic approaches that you can take with a channel strip such as the 1073. You can either add this type of plug-in to your track while you record, or afterward while you mix.
“Pro engineers almost always track with some basic processing,” he says. “And why not? You’ve only got so many opportunities to ‘touch’ your signal, and this is an important stage in the recording process.”
Watch Quick Tips with Neve 1073
How to Use Channel Strips
Begin by loading the Neve 1073 plug-in onto a track in your DAW. With your mic plugged in, adjust the preamp gain using the red knob and try to find a sweet spot that’s not too saturated.
“With the 1073, you have options when dialing in your gain,” says Mazurek, “To get that iconic Neve color, you can drive up the gain knob for saturation. For a cleaner sound, you can start with a lower gain setting, but apply more output gain. To avoid clipping, always be aware of the setting on your Output knob.”
“Using the Neve 1073 while you record allows you to add analog color and take advantage of its EQ.”
After dialing in your gain, you can now apply a high pass filter to eliminate low-end and rumble. Depending on your vocal range, try both the 80 Hz and 160 Hz settings. This shouldn’t affect the sound of your vocal, but you should notice more clarity and focus with this setting engaged.
The 1073 is a semi-parametric EQ, meaning it allows you to cut or boost at pre-selected frequency bands. Mazurek explains: “The frequency selections on the 1073 were chosen by Rupert Neve himself, so take advantage of his guidance! 700 Hz is that honky midrange for vocals, and I almost always cut a few dBs in this range.”
Next, you can experiment with adding ‘sheen’ with the high shelf or ‘heft’ with the low shelf. “These last two options are situational,” he says. “For example, many mics will brighten up when you apply a cut at 700 Hz, so you won’t need more top end, while some signals need a lift in the bottom after you’ve applied a high pass filter.”
How to Use Compression
Compressors help keep your vocal at the front of the mix, and not get lost behind other instruments. They can be placed anywhere in your vocal chain, but engineers often prefer to use them in a specific spot.
“For me, compression always comes after EQ,” says Mazurek. “I want the compressor to react to my tonal adjustments. For example: I may be filtering out bottom end, and if the compressor were before the EQ, it would apply gain reduction when I didn’t want it to.”
“The UA 1176 Classic Limiter has loads of character,” says Mazurek, “It’s perfect for that fast, aggressive compression that makes vocals pop out of a mix.”
To hear the full character of this classic compressor, start with the default settings. Then, try turning the Attack knob fully counterclockwise and the Release knob fully clockwise. “These settings make the compressor grab fairly quickly, but also let go quickly,” he says.
Ratio represents the ‘amount’ of compression applied to the signal, and is expressed in decibels. Leave the Ratio at 4:1, but experiment with other settings, including the infamous ‘all buttons in’ mode for gritty textures.
Watch Quick Tips with 1176
The 1176 is a fixed threshold compressor, meaning you cannot control the point at which the compressor starts working.
Mazurek explains: “With the 1176, you rely on the Input knob to ‘push’ your signal into compression. To get a more compressed sound, simply turn up the Input knob. This means that you will have to adjust the Output knob simultaneously to maintain proper gain staging.
“Always sing as you make these adjustments, so that you arrive at the proper record levels. About half to two thirds of the way up on the track meter is plenty. And now you’re finally ready to hit record! Whew…”
For further reading, be sure to check out these related articles: Top UAD Vocal Chains, How to Use Plug-Ins on Vocals, How to Record Vocals, How to Record with Apollo, Audio Compression Basics, Best Compressor Plug-Ins
— McCoy Tyler, Drew Mazurek

